
OK
In yesterday's post, we got everything ready to make our first batch of goat milk soap in a crockpot. Preferably a pretty, RED crockpot.
;-)
Today, we're going to go ahead and MAKE the soap.
The first thing to do is to weigh your frozen goat milk:

I freeze my goat milk in zippered freezer bags. You want it frozen so that the milk doesn't scorch when you add the lye. It helps if you freeze it with the bag lying flat ~ that way it is easier to break up the frozen milk when you go to add the lye.
Next, measure (weigh) the lye:

Of course, you WILL BE wearing your
safety equipment when you are working with lye.

I like to put the bowl (stainless steel) that I am mixing the milk and lye together in, into the kitchen sink that I have put cold water and ice cubes into.
This is the slushy/frozen goat milk that I broke up into smaller pieces while it was still in the ziplock bag.

VERY slowly add the lye to the goat milk.
NEVER add the milk to the lye! It will explode! Add the lye,
a little bit at a time, while constantly stirring the goat milk.

The mixture will become hot
(not too hot because we're using frozen goat milk and mixing it in a bowl sitting in ice water) and the goat milk will thaw. It took me almost ten minutes to add the lye. I might be being extra cautious but my milk doesn't scorch that way.
Keep stirring constantly until the milk (to which you are adding the lye ~ NOT the other way around) is completely blended with the lye and the mixture looks smooth and creamy.

Set the milk/lye mixture aside on the counter.
Next, weigh your fats and oils:

Melt any solid oils (such a Crisco, lard or coconut oil) and add to the liquid oils.
I didn't quit get my Crisco completely melted before adding it to the other oils.
SHAME ON ME!

It wasn't really a big deal ~ I just put the stainless steel bowl on the stove for a half-minute to finish melting the Crisco. Stir oils to blend.
Since I chose not to use scented oil in this recipe, I'm grating two whole vanilla beans
to add texture and scent.

I had no idea how difficult it is to grate vanilla beans!

Don't let small obstacles deter you...

(that would be the blade of a steak knife that I'm using to finish "grating" the vanilla beans.)
Be creative!
Set the grated vanilla beans aside.
Now, pour the blended oils into the beautiful, red, crockpot.
At this point, the crockpot has NOT been turned on.
No additional heat is needed.
Yet.

Slowly, add the goat milk/lye mixture, stirring constantly.

Ladies and gentlemen ~ you are making soap!
As you continue to stir the milk/lye/oils mixture, the lye interacts with the oils in a process called "sopanification".

The mixture will become thicker and creamy looking.
Keep stirring. If you want to speed things up, you can alternate stirring with a spatula with using a "stick blender":

I hand stirred for about two minutes and then used the stick blender for about 15 seconds.
Keep stirring for about ten minutes

alternating between the spatula and the stick blender.

The mixture will continue to thicken.
Don't overuse the stick blender or it will thicken too quickly.
When the mixture is thick enough that it leaves 'tracks' in the surface when you stir it, or droplets remain on the surface, instead of disappearing instantly, you have reached "TRACE". If you do not have a stick blender and do all of your stirring by hand, it will take considerably longer.
almost there...

Trace is the "point of no return" in the soap making process.
Once your soap "traces", the mixture will not separate back into the original oils and lye & milk.
It is now soap!

Once the soap reaches trace, 90% of the lye has been consumed. If we were making cold process soap, the mixture would be poured into molds now and allowed to "cure" for 6 to 8 weeks. During that time, the remaining lye is neutralized.
In hot process soapmaking, the rest of the lye is neutralized by cooking the soap. By making soap in this manner, the product is safe to use as soon as it's cooled. For this recipe, we will cook the soap in the crockpot.
I added the grated vanilla beans to the soap at trace.

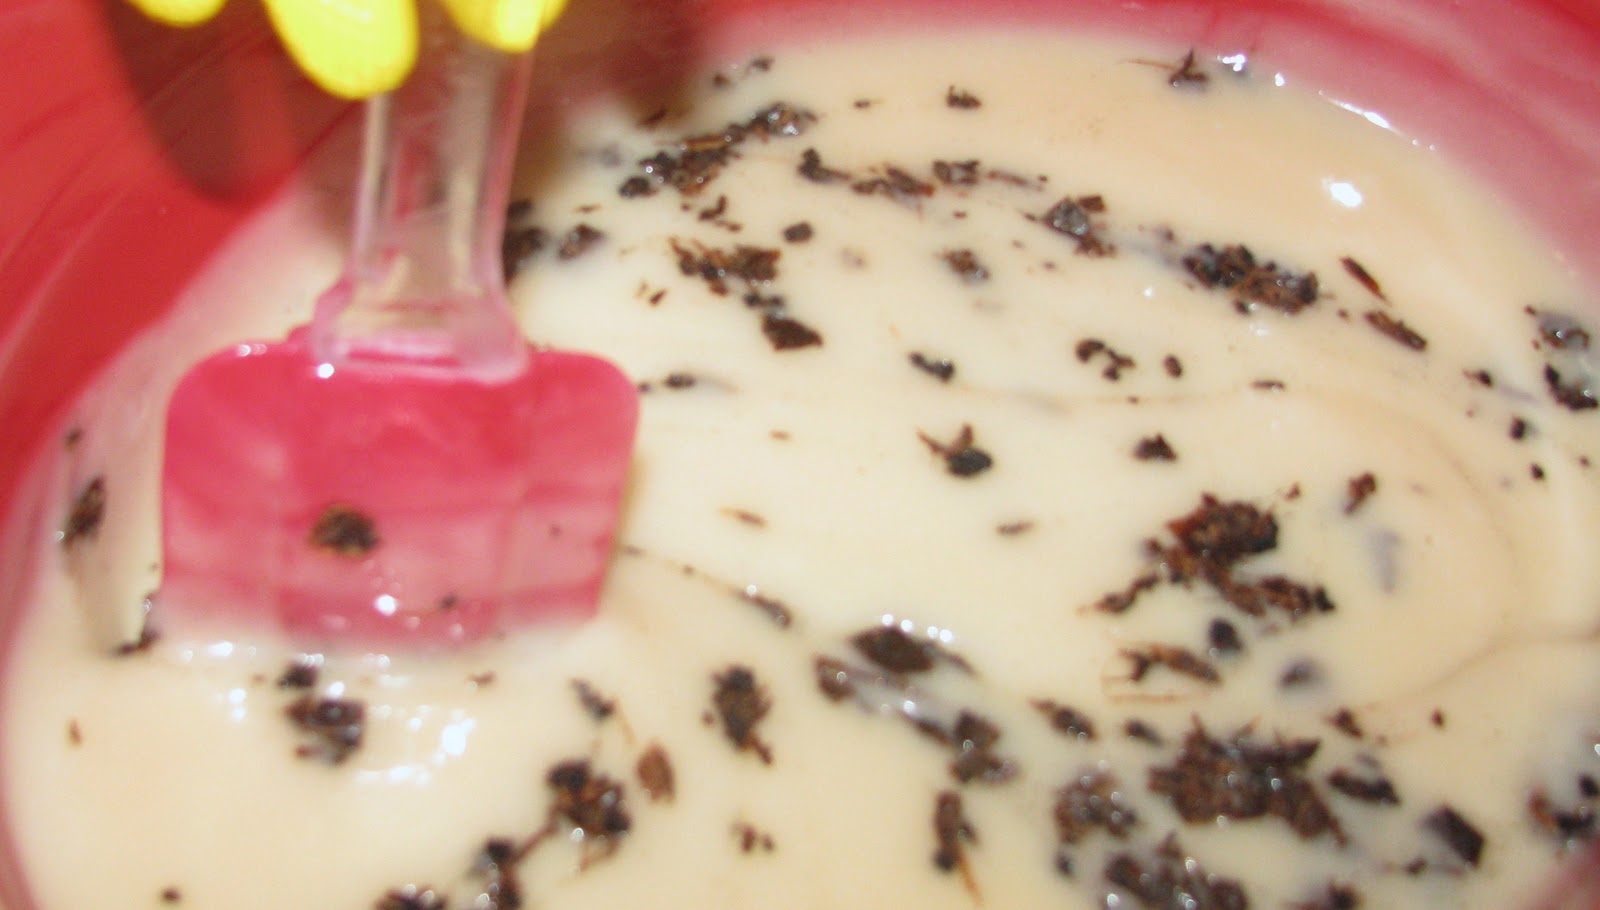
In retrospect, I could have waited and added them after the soap had cooked. By doing so, I might have avoided the beans turning the mixture dark.
Now is the time that we are going to finally turn on the crockpot!
to be continued tomorrow...
Thanks for the multi-part tutorial! I may even try this. I have been wanting to make soap for some time now and this sounds like the way to go. Looking forward to tomorrow's post.
ReplyDeleteYou are making this look like even I could do this--But I can also tell you're an expert on soap making. If I'd done this, I would have no doubt just dumped the milk onto the lye and would be getting a new kitchen, or at least a beautiful new crockpot! :-) I also look forward to tomorrow's post.
ReplyDeleteI'm glad that you're enjoying this topic but I must assure you, Kim, that I am no expert at soap making! In fact, I made my first batch less than a week ago! I do, however, enjoy it very much and love the finished product. The batch featured in these posts is the third batch I've made ~ my first attempt at crockpot soapmaking. ;-) I think I'll try making some 'cold processed' next...
ReplyDeleteVery interesting to see it done this way. Thanks for sharing it with us. :)
ReplyDeleteShortly after I got lye in my eye last year, I read a soapmaking article that said the lye is no longer dangerous after trace, which is wrong (and I wrote the editor saying so) and it sort of reminds me of your comment that "Once the soap reaches trace, 90% of the lye has been consumed." It's not exactly the same thing, but still sounds like it's not as dangerous, but it is definitely still very capable of seriously burning you. Once the lye mixture is added to the oils, the amount of lye is 10% of the total solution, which is still enough to blind you or cause serious skin burns if you dump the whole pot on yourself. Both the ER doc and the ophthalmologist told me last year that if I hadn't rinsed my eye immediately, I would have had permanent vision loss. In case you missed my post about this last year, here it is: http://antiquityoaks.blogspot.com/2009/10/soapmaking-accident.html
ReplyDeleteI don't want to dampen anyone's enthusiasm for soapmaking, and it sounds like you're having a blast, but I also don't want you to get hurt. I know you're doing all the right things as far as safety precautions, so it will probably never be an issue for you.
BTW, you make hot process look a lot easier than other posts I've seen on it. Maybe I will try it someday.
Thank you for the reminder, Deborah. I think it's always better to error on the side of caution when dealing with a potentially dangerous substance. That being said, I do wear my rubber gloves and glasses but don't feel any fear when working with the lye. It's part of making soap and I treat it with respect but I'm not "afraid" of it.
ReplyDeleteI wouldn't take a hot pan out of the oven without a potholder and I won't work with lye without proper safety gear.
I've found hot process soap making to be VERY easy. MUCH easier than it looks in these posts! Also, quite addictive...
;-)
Thanks for sharing this information. This is so interesting. I never knew that making a goat milk soap is this easy! Awesome! Thanks again! :DD
ReplyDeleteI do believe that I am going to try this. It looks like fun.
ReplyDelete